

Why this lesson matters
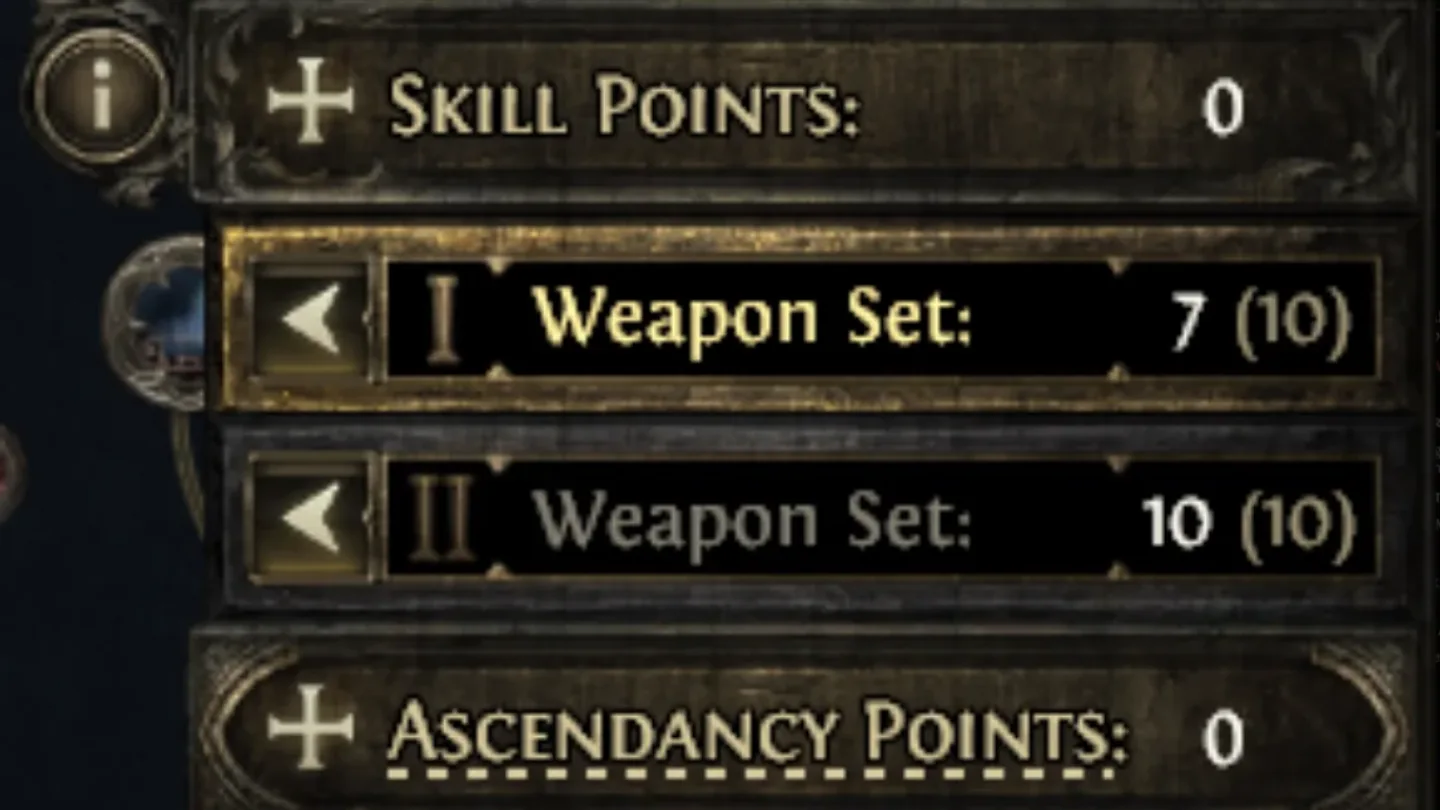
The passive tree lesson covered what Weapon Set Points *are*. Worth being precise here, since it's easy to read this as a second currency: tagging a node to a weapon set still spends an ordinary passive point from your normal budget — there's no separate pool of points you earn and spend independently. What *is* separate is a capacity cap, called your Weapon Set Point maximum: it limits how many of your regular points you're allowed to spend in "tagged to a specific set" mode rather than "Global," starting small and raised via Book of Specialisation rewards from campaign quests, up to 24 per weapon set (48 total) by the end of the campaign. So tagging doesn't cost you extra points on top of your tree investment — it costs the same one point it always would, just with a cap on how much of your budget can go toward set-specific tagging versus Global allocation. This lesson covers how that actually plays out at the keyboard: how tagged nodes behave, how skills trigger a swap, and where the UI has more nuance than "swap weapons, passives change."
The three node states
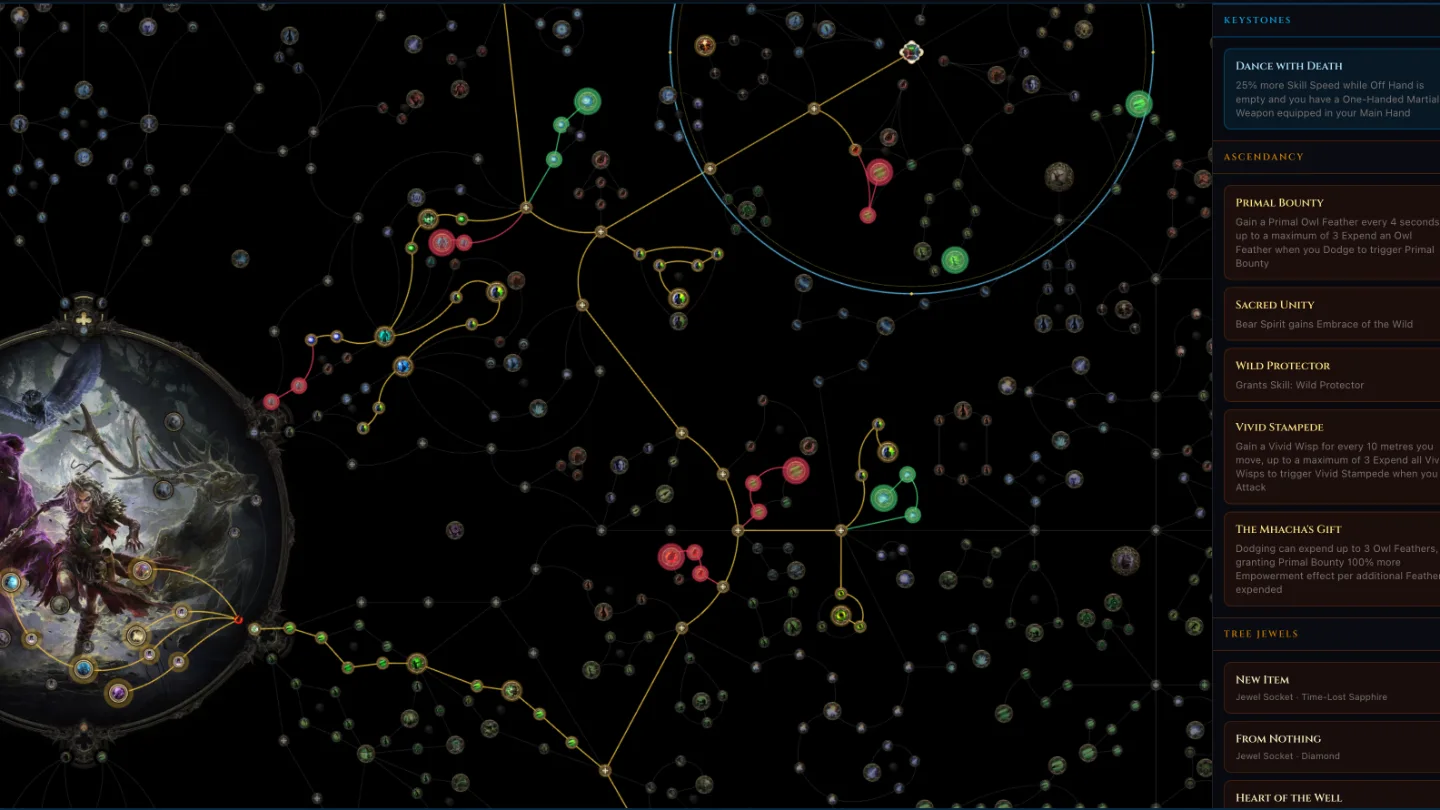
Once you've tagged nodes with Weapon Set Points, every allocated node on your tree falls into one of three states:
- Global — untagged nodes, always active no matter which weapon set is equipped.
- Set I — active only while your first weapon set is equipped.
- Set II — active only while your second weapon set is equipped.
Swap weapons, and your Global nodes stay on, your previous set's tagged nodes switch off, and your new set's tagged nodes switch on — all at once, automatically.
Tying a skill to a weapon set
In the skill gem configuration panel, you can assign each active skill to force a weapon-set swap when you cast it. The actual options are a two-checkbox setup — Set I and Set II — with three resulting behaviors:
- Only Set I checked: casting this skill always swaps you to Set I first (if you're not already on it), then casts.
- Only Set II checked: same, but swaps to Set II.
- Both checked: the skill is valid to cast under either set, so it doesn't force a swap at all — it just casts with whatever set is currently equipped. This isn't quite "ignores the mechanic," it's that a skill valid under both sets never needs a forced swap to begin with.
Practical effect: assign your staff/spell skills to Set I and your melee skills to Set II, and swapping is no longer something you do manually mid-fight — casting the skill does it for you, and the right passives come online in the same instant.
Weapon-requirement skills override your assignment
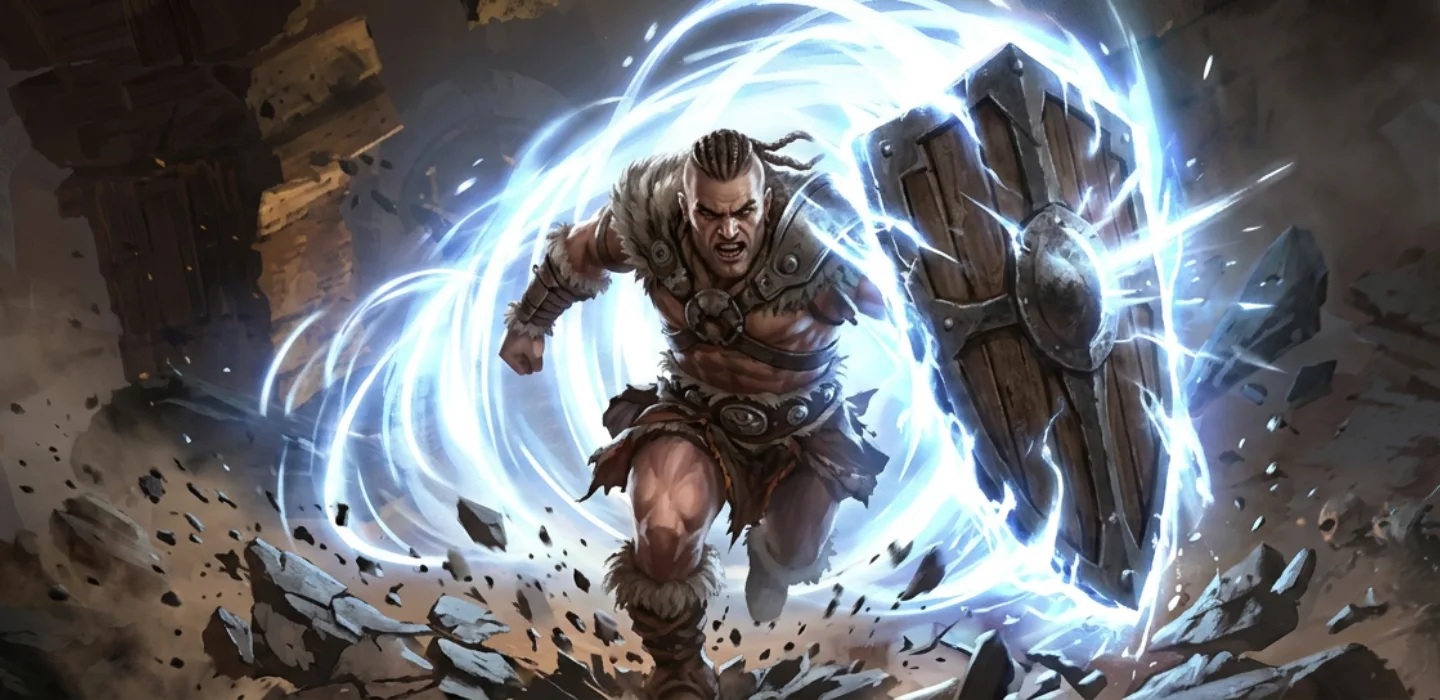
Some skills have a hard weapon requirement built in — Shield Charge, for example, requires a shield. If you cast a skill like that while your active set doesn't meet the requirement, the game automatically swaps you to whichever of your two sets *does* meet it (assuming one does), independent of whatever Set I/Set II checkboxes you configured for that skill. You don't need to manually manage this case — it's an exception path the game handles for you.
What doesn't get a discount
One correction worth being explicit about: there's a real, general 50% Gold discount when refunding an attribute travel node at The Hooded One (covered in the passive tree lesson) — but there is no separate discount for *allocating* an attribute node inside a Set I/Set II branch specifically. If you've seen a claim that attribute nodes are cheaper to allocate when they're part of a weapon-set branch, that's a mix-up of the refund discount with something that doesn't exist. Budget attribute nodes in a dual-spec branch the same as anywhere else on the tree.
Practical tips
- Assign skills to weapon sets deliberately, matching each set's tagged passives — a skill assigned to the "wrong" set just means an extra swap delay before it fires as intended.
- Don't stack your only defensive nodes (block chance, evasion) entirely on one weapon set — you'll be temporarily weaker in that specific defense right after a swap, before you've had a chance to re-adjust in combat.
- If a skill has a hard weapon requirement, you don't need to configure its swap checkboxes around that requirement — the game handles the override automatically.
- When in doubt about whether a node is Global or set-specific, check its tag before assuming it's always active — a passive that looks core to your build might silently drop off after a swap if it's tagged to the set you just left.
- Don't budget for weapon-set tagging as if it's free extra investment — it spends your normal passive points, just capped by your current Weapon Set Point maximum; pick up the Book of Specialisation quest rewards early if you're planning a heavily dual-spec'd build.
Sources: Maxroll — Passive Tree & Dual Specialization · Maxroll — Weapon Swap Mechanics · Mobalytics — Dual Specialisation · GameRant — Weapon Set Points Guide · PC Gamer — Weapon Set Skill Points Explained · RPGStash — Weapon Set Skill Points · dving.net — Weapon Set System · Fextralife — Passive Skills · Fextralife — Shield Charge